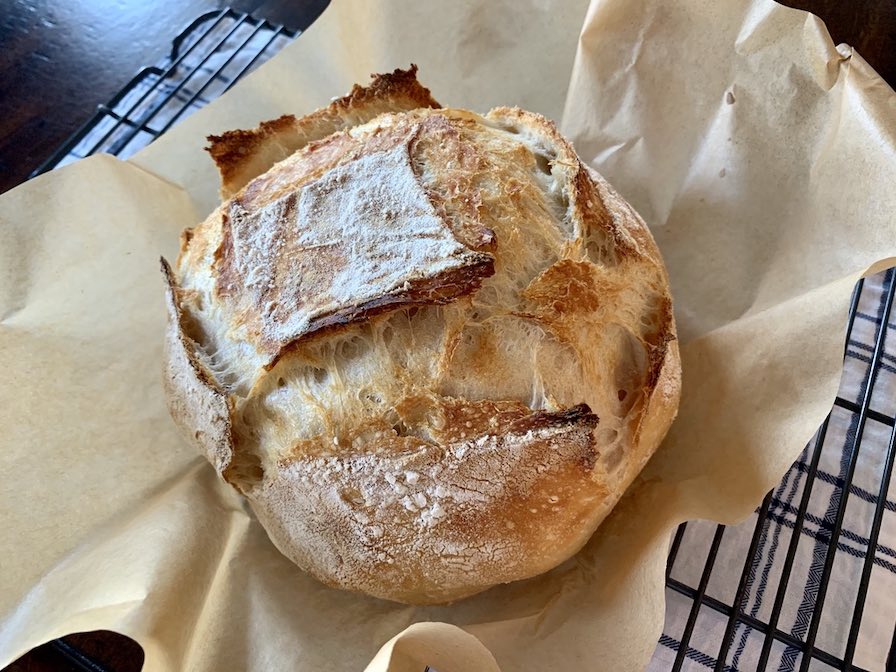
During Covid, I like many of you jumped on the sourdough train! My Mom, a few of my Aunts and a couple of my sisters had a sourdough text chain going with pictures of bubbling starters and fresh loaves out of the oven. It was such a fun way to stay connected and we all got pretty good at creating artisan sourdough in the process! Out of all the articles, sourdough cookbooks and recipes I have read and tried, I have found this method to be the most simple and successful! But first things first… lets talk about the starter…
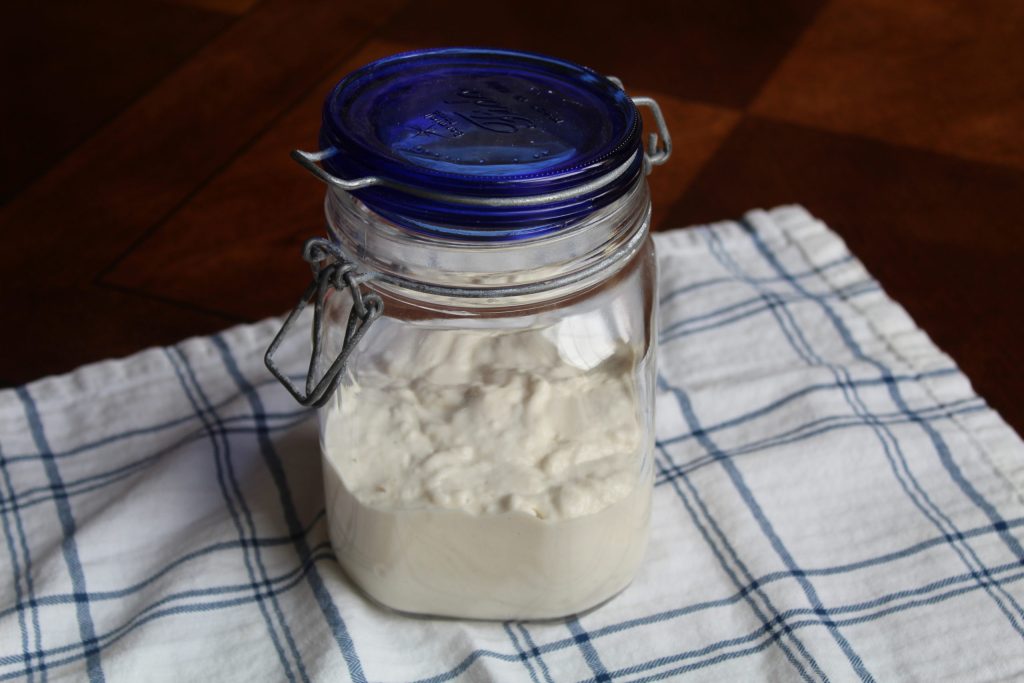
For me the most intimidating aspect of sourdough baking was figuring out how to feed and maintain the starter. You MUST have a healthy starter to create artisan bread, or anything with a loft. You can get away with “discard” recipes if your starter is weak. My favorite way to use discard or an unfed sourdough starter is Sourdough Banana muffins, Sourdough Pancakes or these Overnight Sourdough Waffles. But, to create breads that rise and a have chewy delicious texture, you must have a strong and healthy starter.
What is Sourdough?
Sourdough starter is a live fermented culture of flour and water. Once it is fed with flour and water and left in a warm place to rise, it becomes bubbly and active. A small portion of the active starter is used to make bread dough rise. So traditional yeast is not needed.
Feeding is Essential
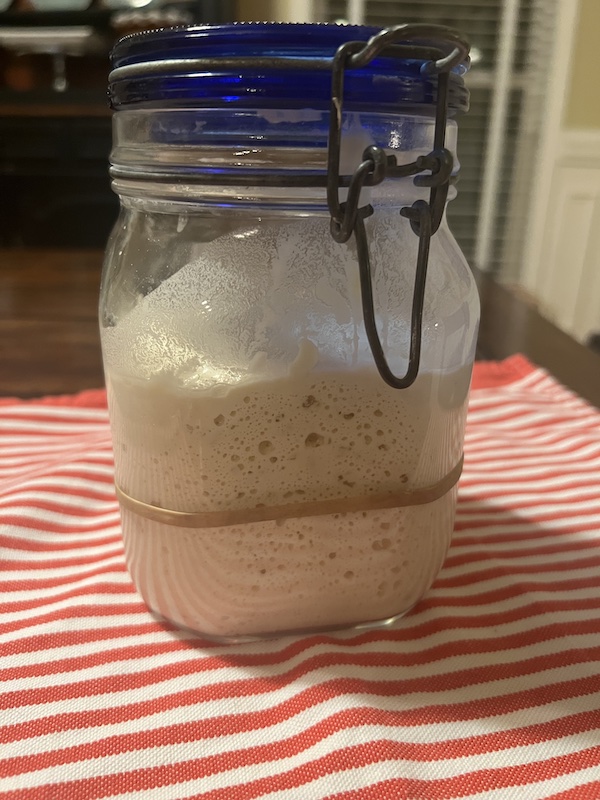
You must feed your starter every time before making bread dough. This is called “activating” your starter. Then to keep it “alive” you will need to continue feeding it to keep it strong. Bakers normally feed their starters by ratio. The most common feeding ratio is 1:1:1 (Sourdough Starter: Flour: Water) So as an example, if you have 100 grams of starter, you would discard half. Leaving 50 grams in the jar, then feed it with 50 grams of water and 50 grams of flour. It will have the consistency of a thick pancake batter. I do not normally use my scale when feeding my starter. I normally feed it with 1/2 cup flour and then enough water to get the consistency I know works for me (like a very thick pancake batter–see picture). Although, I do know sourdough baking will be more predictable if you follow the 1:1:1 ratios. After 2-8 hours (depending on the temperature of your kitchen) the starter will have doubled and be bubbly and ready to bake with. A good test to know if it is ready to use for baking bread, is to drop about a teaspoon worth into a cup of water. If it floats then it is ready to use in your bread recipe, but if it sinks it is not. If it sinks, discard half and feed it again. Wait a few hours and try the test again. See below the starter started where the rubber band is and has doubled. Notice all the bubbles. It passed the float test and is ready to use in the recipe!
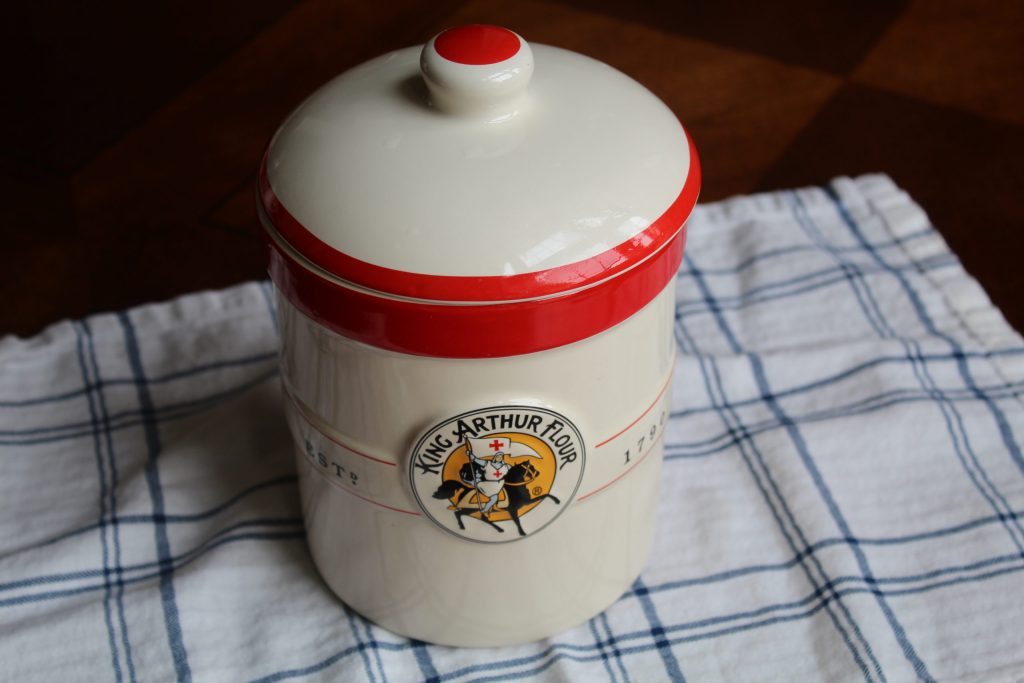
I prefer the glass jars for my starter so I can easily see the growth and bubbles, but I have this stoneware crock too. It works great!
What you will need to make Sourdough Artisan Bread:
- Jar with a lid –I have two one is this glass jar, and a stoneware crock from King Arthur Flour
- Sourdough Starter–ask your friends and neighbors for a start or buy one online
- Kitchen Scale
- Bread Flour or all purpose flour (unbleached)
- Water, bottled spring water (works great) or try filtered or quality tap water (no chlorine)
- salt
- Dough Scraper
- Bowls or proofing baskets
- Covered enameled dutch oven, like this one or this one (both great prices on Amazon)
- Lame –a razor blade tool to cut the tops of the dough
- Parchment paper –helps it not stick to the pan
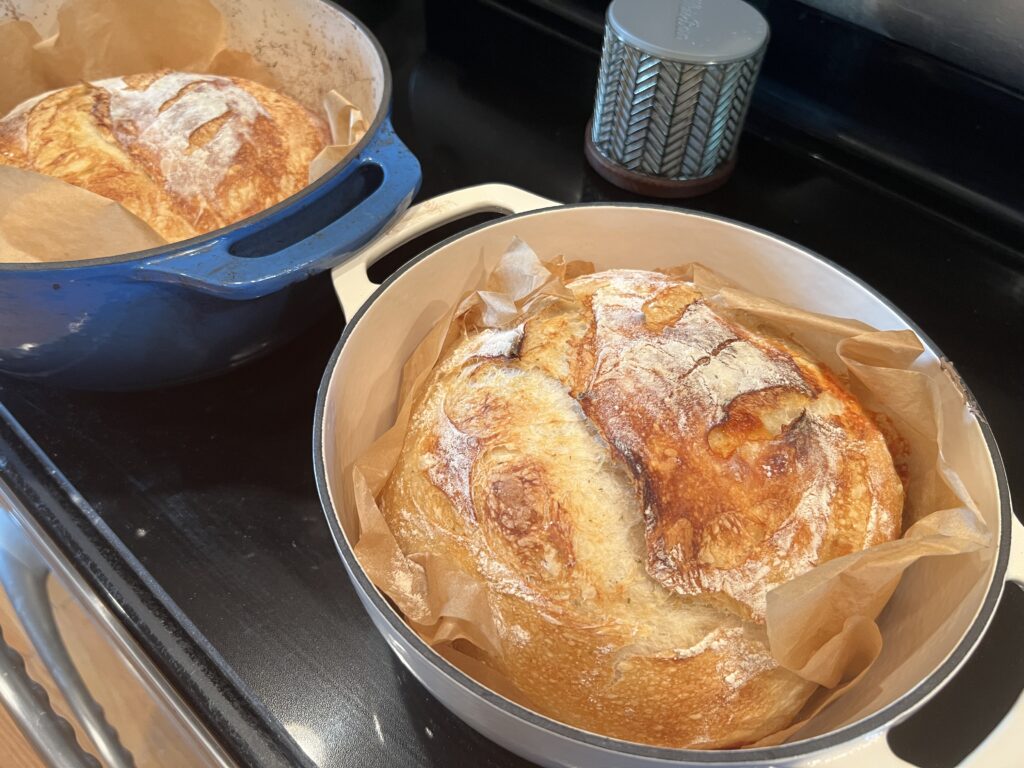
I have two dutch oven pots, so I can bake two loaves at one time. It saves a lot of time.
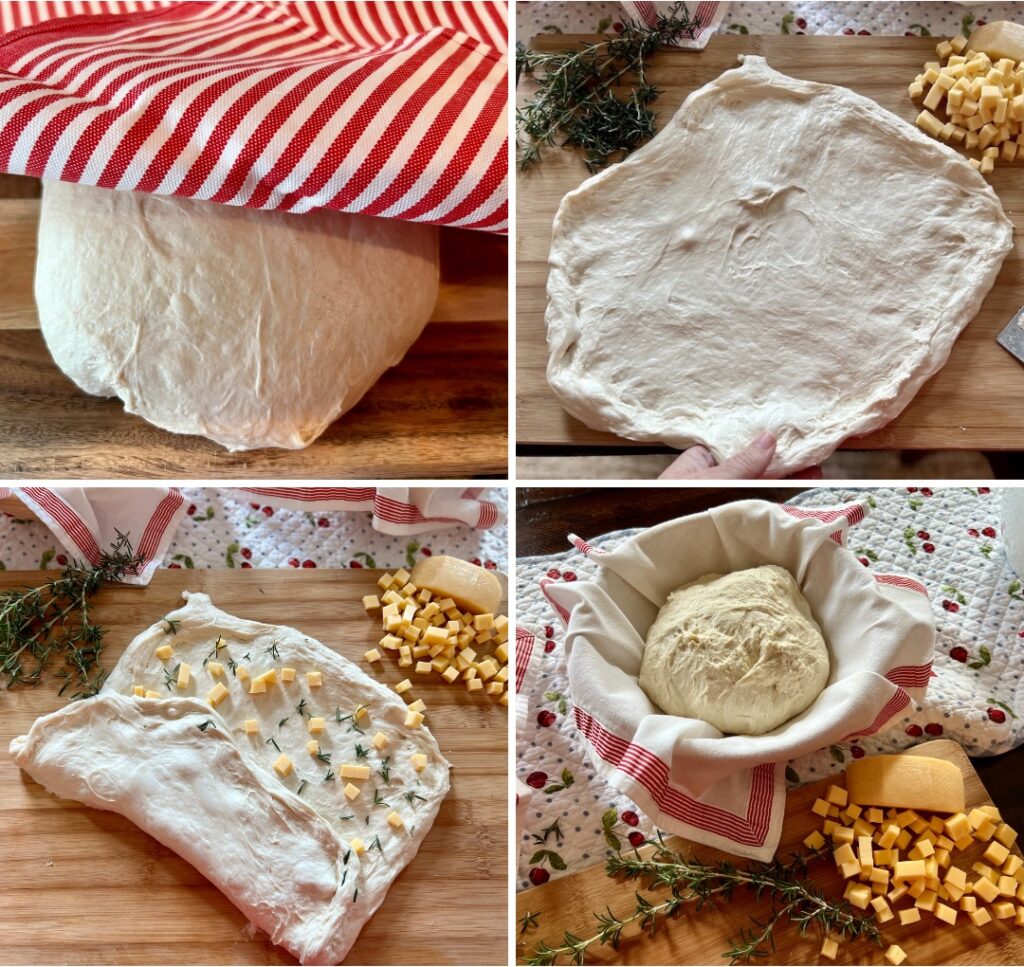
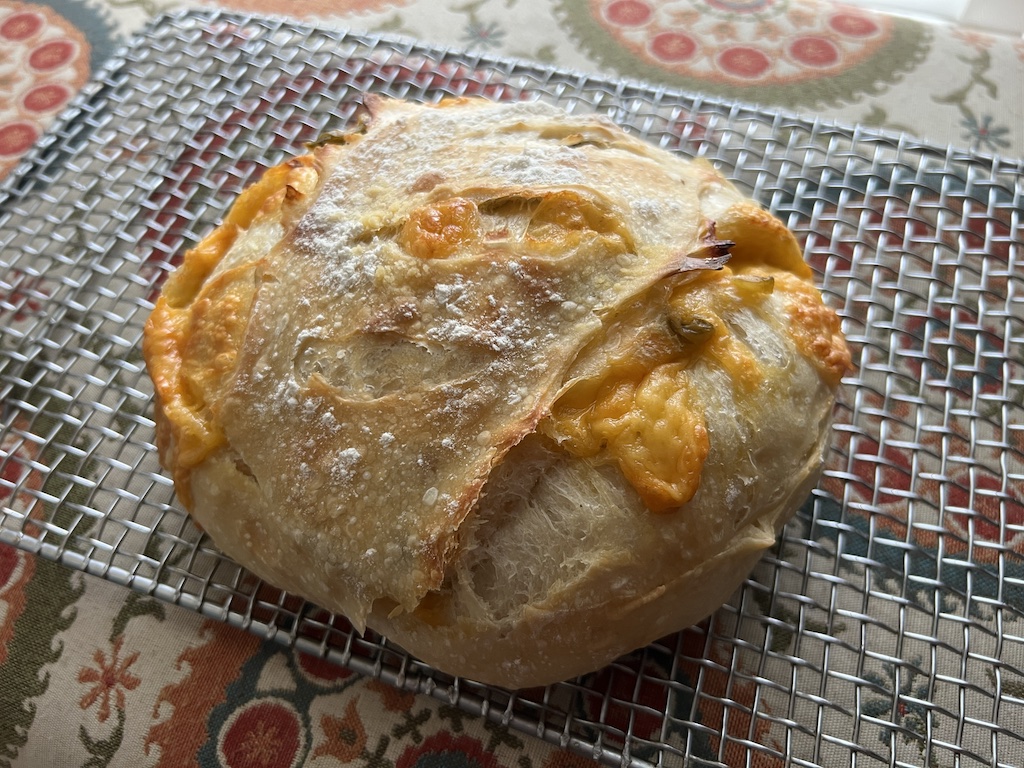
Have fun with add ins–like this white cheddar and rosemary (below)
You can see in the pictures below, the process of letting the bread rest, then stretching it out and sprinkling on the “add-ins” if you are using them.
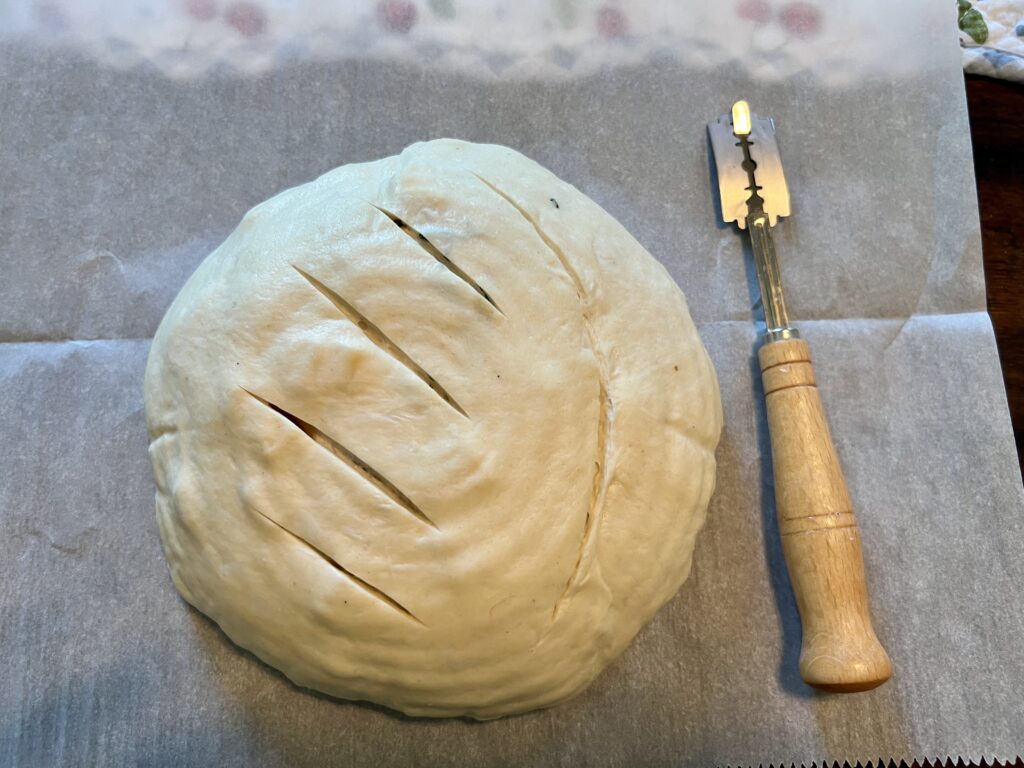
With the slashes made and ready to go int he hot dutch oven to bake.
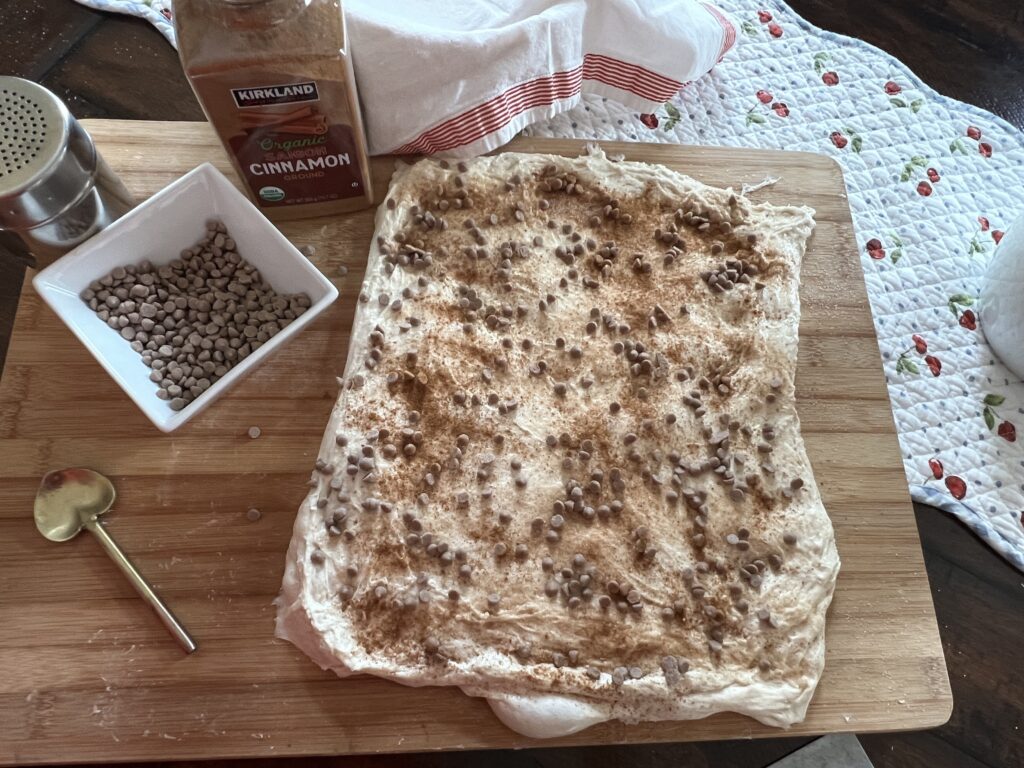
We also love Cinnamon Sugar swirl. You can add cinnamon chips and cinnamon or just cinnamon sugar. Both are great!!
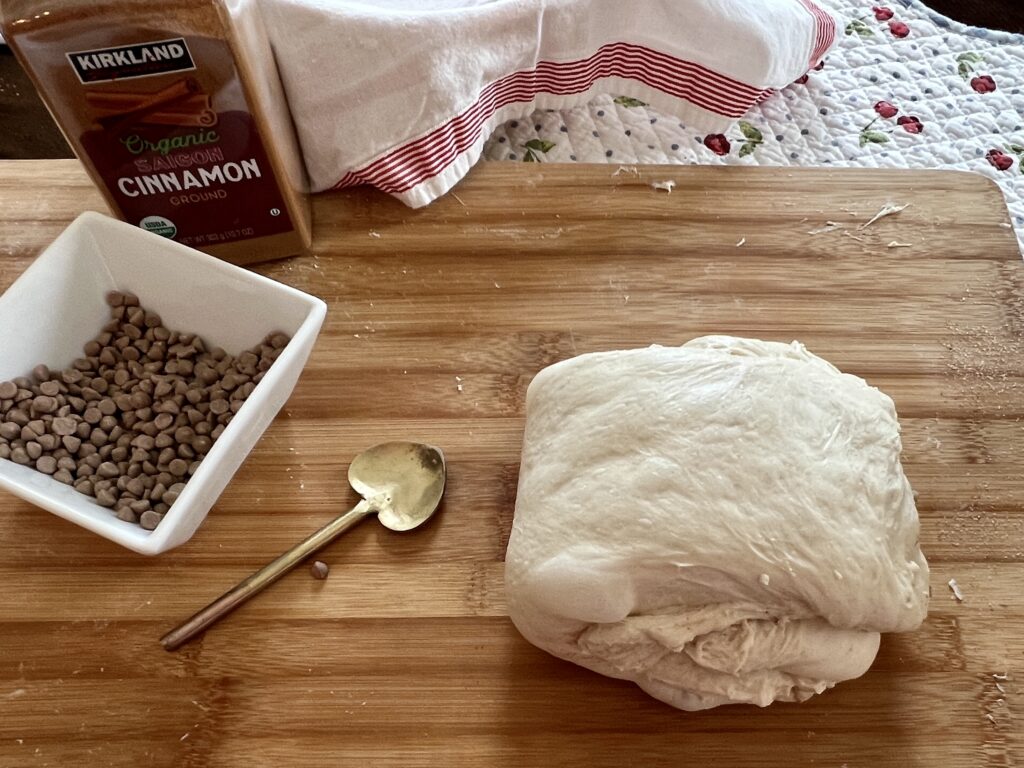
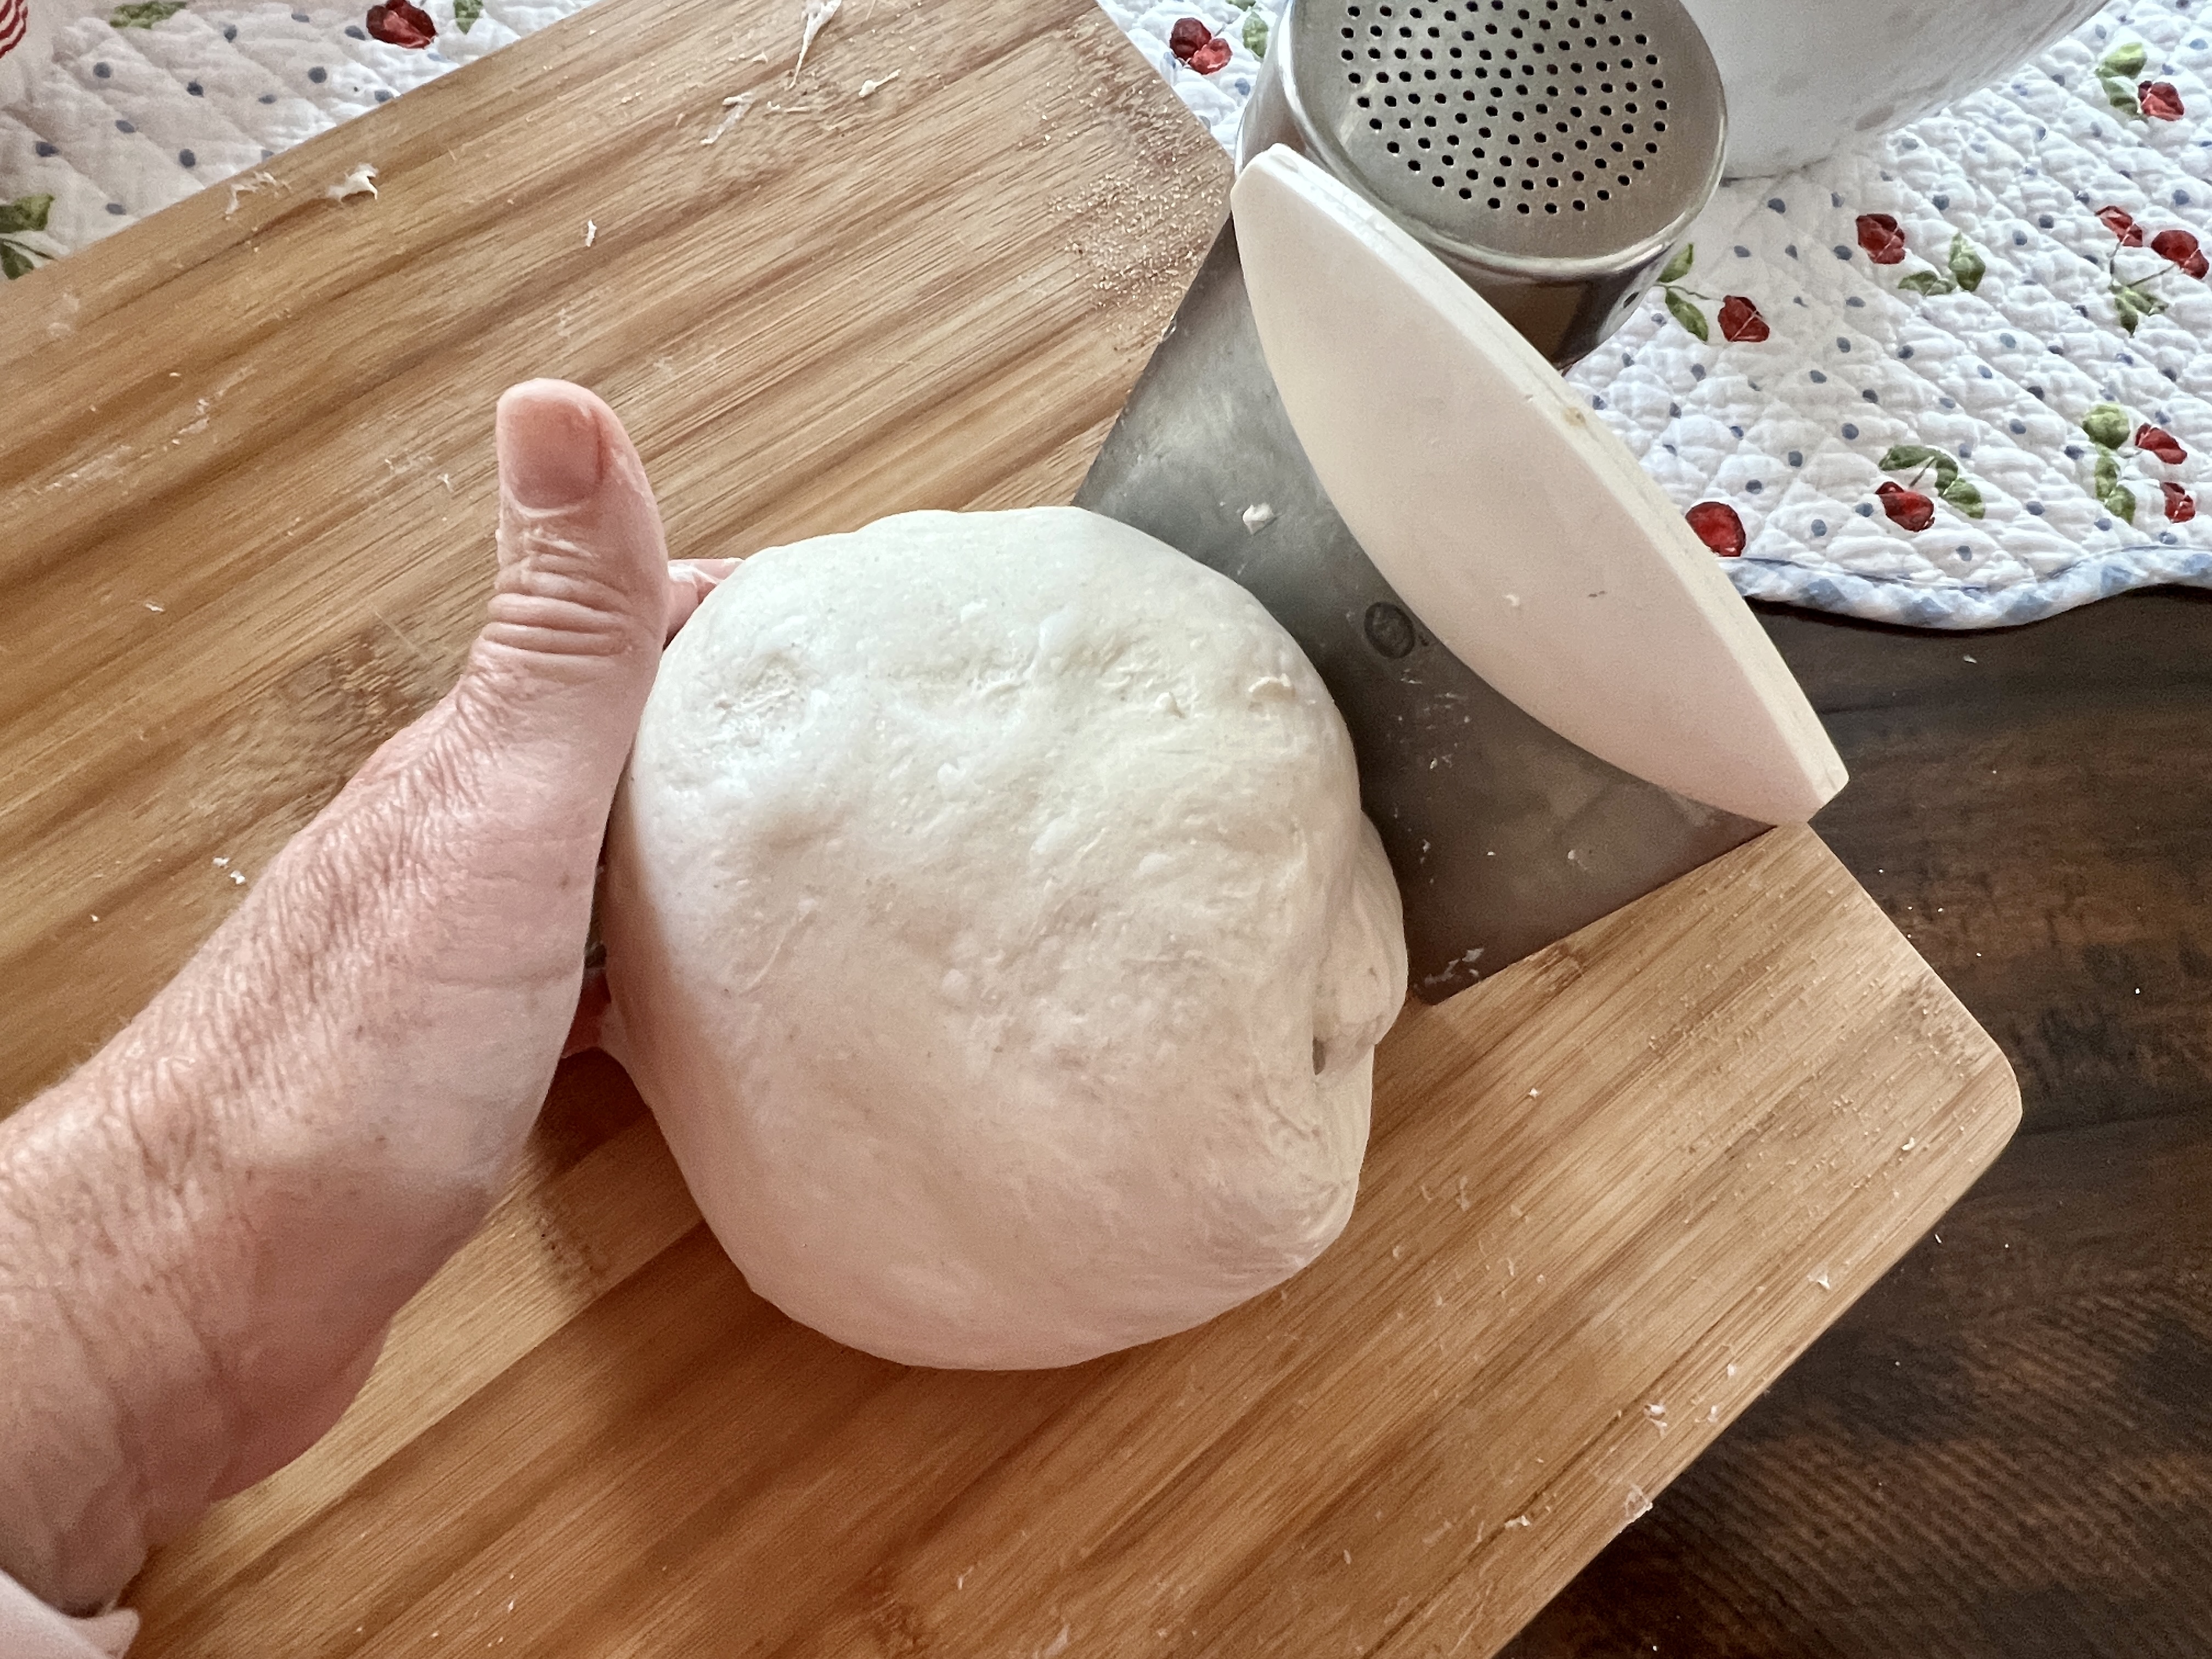
In the picture below, I am ready to fold in the 3rds both vertically and then onto itself and tuck into a ball before putting in a proofing basket or bowl to rest in the fridge for 12-15 hours.
Cinnamon swirl sourdough makes great toast in the morning or turn it into French toast! YUM!
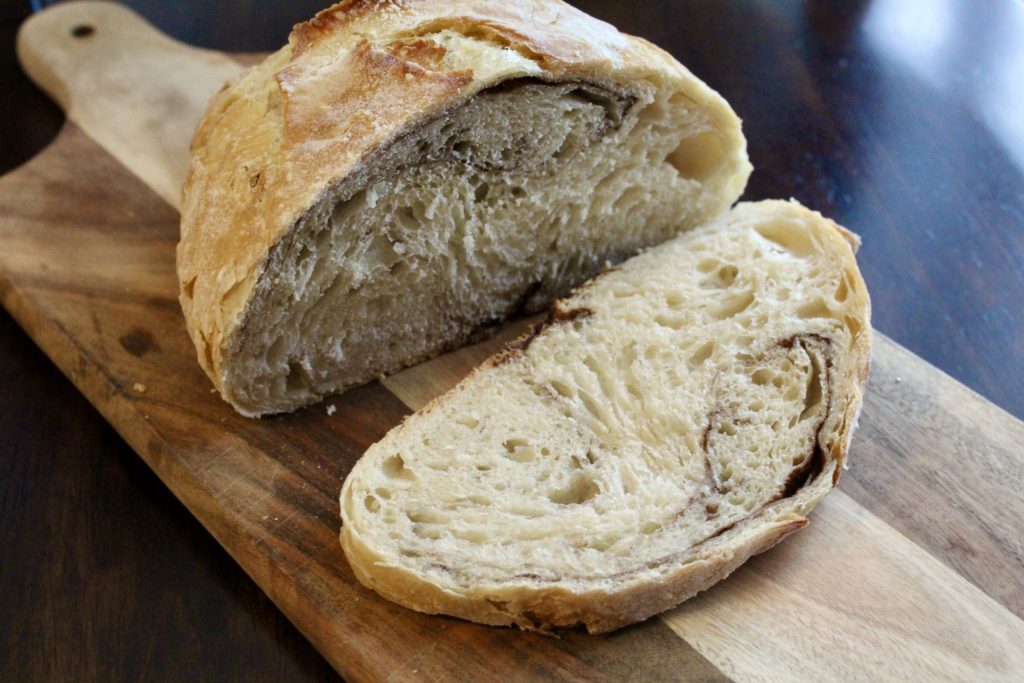

Sourdough Artisan Bread Loaves
Description
A simple method for wonderful artisan sourdough bread!
Ingredients
Instructions
Feed Starter– pick one of these two ways to do it:
Use a 1:1:1 ratio
120 grams Sourdough Starter
120 grams Water
120 grams Bread Flour (unbleached)
OR eyeball it/approximate (what I do most of the time–I don’t get out the scale for feeding the starter)
First discard (remove about half or more) leaving about a 1/2 cup of starter in your jar
Feed starter with:
about 1/2 cup bread flour
enough water to create a very thick looking batter
After you have fed starter leave on counter for a few hours (depends on the warmth of your kitchen) until bubbly and about doubled in size. A good test is to drop a small bit into a cup of water. If the dough floats it is ready to bake with and proceed with recipe. If it sinks–then discard half the starter and feed it again.
Making the Dough:
Place a large bowl on the scale and zero it out (tare button) then add ingredients:
200 grams starter
525 grams water (room temperature to warmish)
700 grams bread flour
1 Tablespoon salt
Mix gently just until the flour is incorporated. It will be a rough, shaggy dough. Cover lightly and set aside for one hour.
After one hour, with a damp hand, fold 1/4 of the dough in on top of itself, turn to the next 1/4 of the dough and fold it on top again. Then repeat for a total of 4 times so that all the dough has had a chance to be folded over. Lightly cover and let rest for 30 minutes on the counter. Repeat this folding process 4 times (will take 2 hours).
After 2 hours of folding and resting, cover the bowl and place it in the refrigerator overnight for 12-15 hours.
The next morning remove from the fridge and let the bowl sit on the counter until it comes to room temperature –about 2 hours.
Then gently dump the dough onto a clean countertop and divide in half using a dough scraper. Be careful not to touch the sticky dough. Cover lightly with a clean dish towel and let sit for 30 minutes.
Pick up one dough ball and stretch it, using gravity to let it hang. Lay the dough (more like a rectangle shape now) onto the counter —{Optional–this is the time to sprinkle on add-ins like cheese cubes and herbs, cinnamon sugar, or white chocolate with pecans}—then fold it 1/3 way over, lengthwise, then the other 1/3 length over the fold. Then 1/3 fold on either end to fold over and tuck to create a ball.
Repeat for second ball. Place both dough balls in separate bowls or proofing baskets. Cover with plastic grocery sack and place in fridge to rest for 4 hours.
Baking Sourdough:
About 30 minutes before you are ready to bake the dough, heat your covered dutch oven in the oven set at 450 degrees to get it nice and hot.
Remove dough balls from fridge and place on parchment paper. Use the lame (razor blade or very sharp knife) to slash the top in a pretty design.
Carefully remove hot dutch oven from oven and place dough inside replacing the lid and returning to oven,
Bake for 30 minutes with the lid on then remove the lid and bake for another 5-10 minutes until loaf is golden brown.
Immediately after removing the pan from the oven, carefully lift the bread out and place on cooling rack. If you don’t have 2 pans to bake them simultaneously, then put the covered pan back in the oven to reheat for 10 minutes. Then repeat the process for the second loaf.
Notes
Have fun with your “add-ins”
Parmesan and Rosemary
Cheddar and Roasted Garlic
Gouda and Dill
Olive an Fig
Asiago and Olive
White Chocolate Chip and Pecan
Walnut and Craisins
Hazelnut and Chocolate Chip
Cinnamon and Sugar (with cinnamon chips if you can find them)
There are endless combinations! Have fun!
Recipe Source: My friend Stephanie who got it from her friend Debbie (Facebook group here)

Leave a Reply